Vim终极折腾
本篇从这里开始
跟我一起学习VIM - The Life Changing Editor
然后到这里进入高潮
spf13/spf13-vim
第一篇看似是一篇普普通通介绍Vim插件的博客文。但是他在介绍一些顶级插件的同时,引入了spf13这个GitHub上的开源项目。这其实就是一个很全的vimrc配置。玩家可以根据自己的需求进行定制。这一下打开了潘多拉魔盒,本来怕麻烦折腾的我,一下就入坑了。

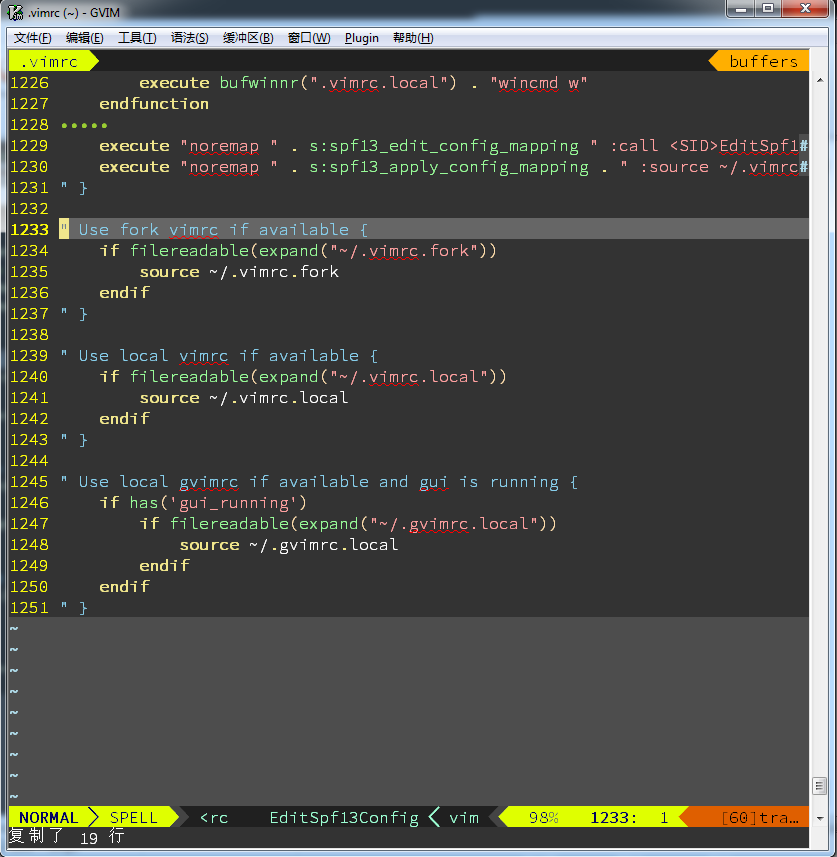
" Use fork vimrc if available {
    if filereadable(expand("~/.vimrc.fork"))
        source ~/.vimrc.fork
    endif
" }

" Use local vimrc if available {
    if filereadable(expand("~/.vimrc.local"))
        source ~/.vimrc.local
    endif
" }

" Use local gvimrc if available and gui is running {
    if has('gui_running')
        if filereadable(expand("~/.gvimrc.local"))
            source ~/.gvimrc.local
        endif
    endif
" }
- .vimrc.before - spf13-vim before configuration
- .vimrc.before.fork - fork before configuration
- .vimrc.before.local - before user configuration
- .vimrc.bundles - spf13-vim bundle configuration
- .vimrc.bundles.fork - fork bundle configuration
- .vimrc.bundles.local - local user bundle configuration
- .vimrc - spf13-vim vim configuration
- .vimrc.fork - fork vim configuration
- .vimrc.local - local user configuration
低端玩家可以用.vimrc.*.local来做本地化定制,高端玩家可以fork repo,然后添加自己的.vimrc.*.fork做定制,然后commit,然后所有你的Vim环境就都可以用到这一份配置了。
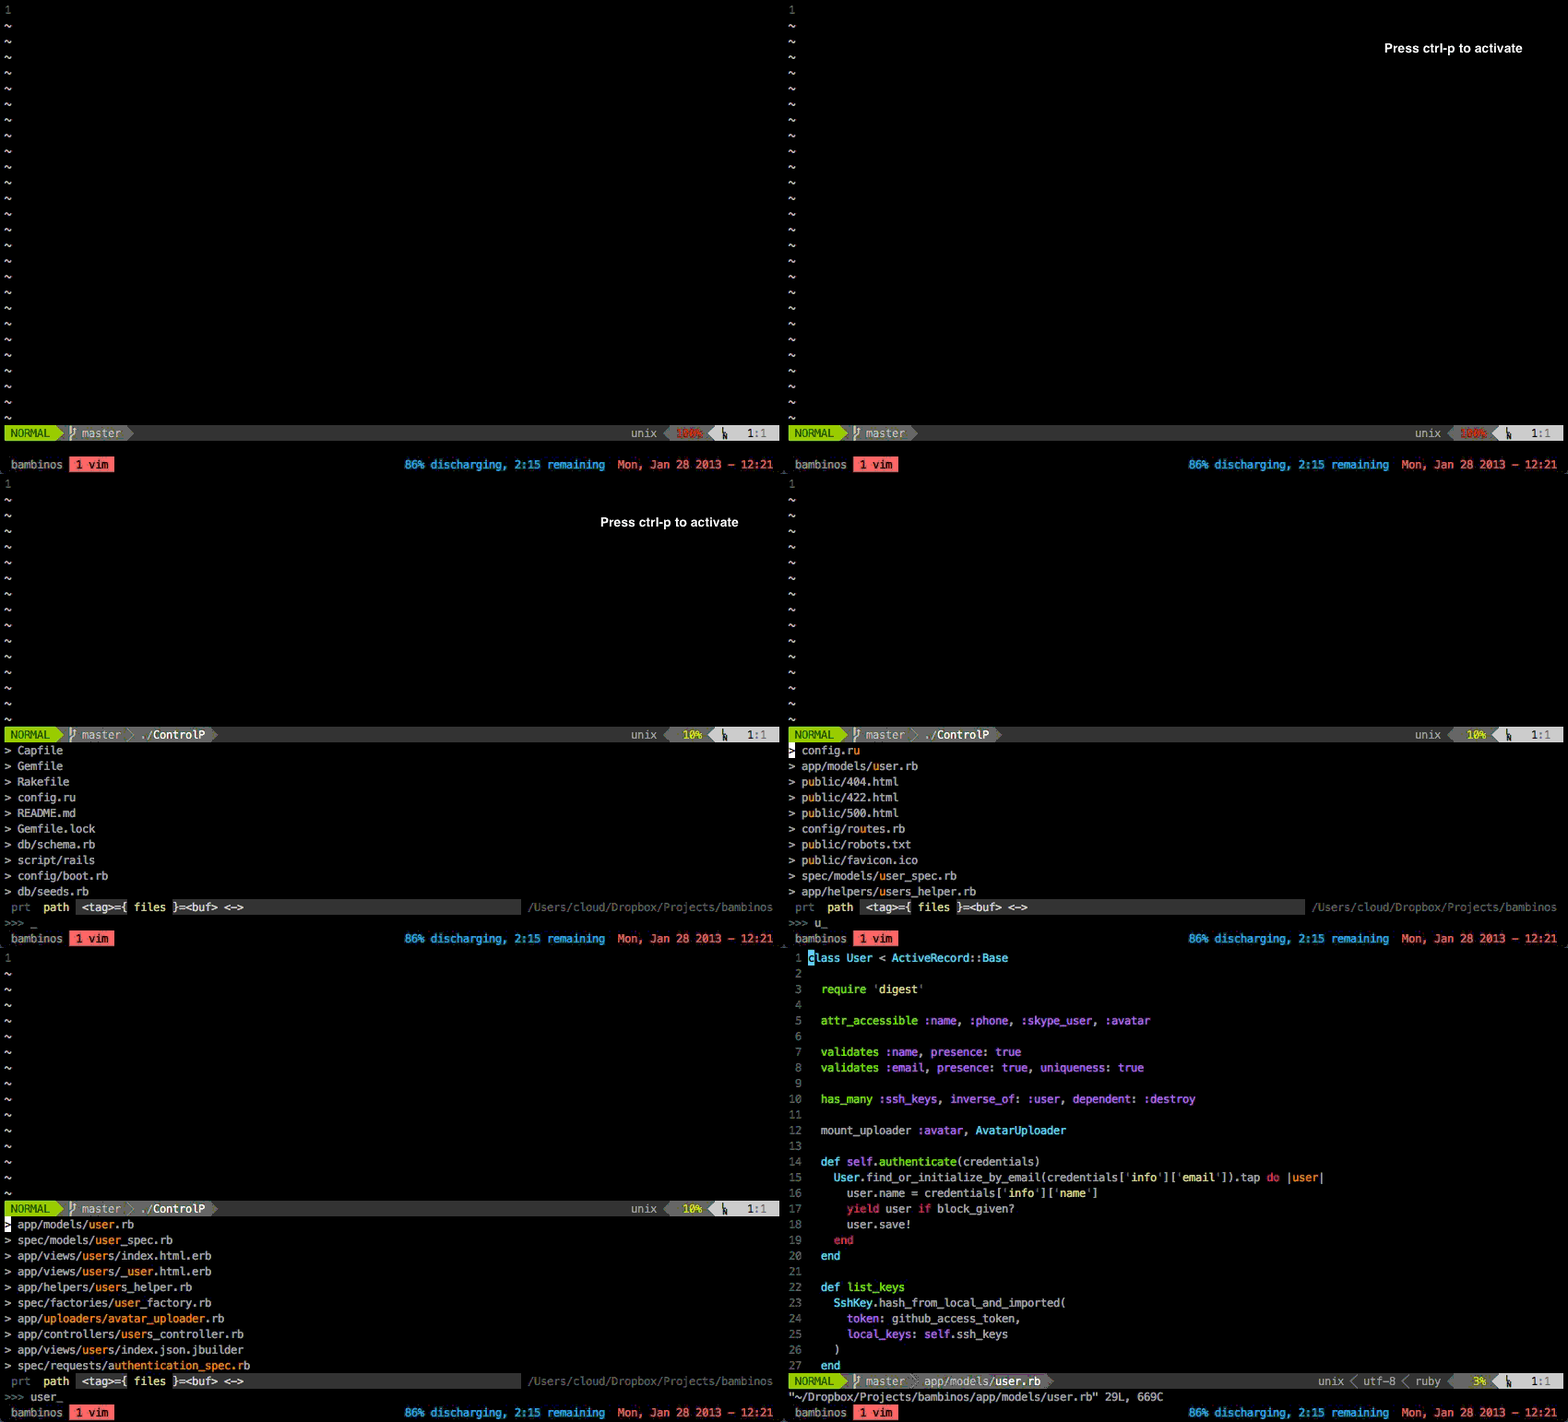
完工后的Vim看起来这样

问题
powerline fonts
Windows
要完成这样的效果,最纠结的就是powerline的字体。如果字体不正确,是没法出现这样的小尖角样式的。

" .vimrc.bundles
Bundle 'powerline/fonts'
所有的字体文件都被安装到$HOME\.vim\bundle\fonts\。然后我们再调用其中的power script脚本install.ps1,就会安装到系统字体目录。然后在Vim中选择对应的字体就好了。
Linux
在Linux,尤其是通过putty访问Linux的时候就没这么简单了。因为我全是用putty ssh访问Linux,所以一开始以为是putty的问题,网上搜出来一堆,都是这样的解释。
- Download the patched fonts. I chose DejaVuSansMono as my font since I like it most.
- Install this font in Windows to make it accessible for all programs.
- Open PuTTY and make changes to the settings:
- Under appearance select the patched font
- Select font quality Clear Type
- Under Translation select character set UTF-8
- Apply settings and restart the PuTTY session
但按照这样做完,却并不起效果。后来发现在Linux本机的图形界面下用Terminal开Vim也是一样的情况。
在终端的profile中配置字体还是一样,没有效果。
然后找到Powerline的官方文档——Powerline
Move the patched font to a valid X font path. Valid font paths can be listed with
xset q:
mv 'SomeFont for Powerline.otf' ~/.fonts/Update font cache for the path the font was moved to (root priveleges may be needed for updating font cache for some paths):
fc-cache -vf ~/.fonts/
颇受启发。
经过分析,得出原因是:
- Linux的桌面系统分为GNome,KDE等等。不同 的桌面系统所采用的字体目录是不同的。我们目前采用的字体目录在
[benzhou@plslx111 phx]$ xset q|grep font
  catalogue:/etc/X11/fontpath.d,built-ins
- 不同的桌面环境也对应不同的终端,比如我们目前使用的就是KDE下的Konsole。
- 修改install.sh,将字体安装到对应的字体目录下,并刷新字体缓存
- 配置好Konsole
- putty下面一切完美
Update - 20170606
Linux上的字体安装始终不成功,在Terminal里面无法找到powerline字体。
最后的解决办法是,字体安装目录在/usr/share/fonts。把~/.vim/bundles/fonts/install.sh中的font_dir设置为对应的路径,再运行就OK了
字体问题
Windows下使用Courier New字体感觉怪怪的,原因是设置了let g:spf13_no_big_font,但因为后面采用了Source Code Pro for Powerline字体,所以就还是保持1。
neocomplete不支持
装完spf13并没有深究每一个插件的用法,偶尔看到对neocomplete的推荐,所以想试一试。在命令行中输入:NeoCompleteEnable,发现竟然不支持,原来neocomplete需要Vim对lua的支持。有两条路可以走:
- 安装vim-nox/vim-athena/vim-gtk/vim-gnome其中之一
- 自行编译Vim,并使能lua支持
因为我们使用的发行版过于陈旧,上面提到的四个包都没有,所以只能走第二条路了。
命令只有两条:
[benzhou@plslx111 vim]$ ./configure  --enable-rubyinterp \
                                     --enable-pythoninterp \
                                     --with-python-config-dir=/usr/bin/python2.6-config \ # 这一行python的配置也要对
                                     --enable-perlinterp \
                                     --enable-gui=gtk2 \
                                     --enable-cscope \
                                     --prefix=/usr/local \
                                     --enable-luainterp \          # 下面两行最重要
                                     --with-lua-prefix=/usr/bn     #
[benzhou@plslx111 vim]$ make
编译Vim,在configure的时候,发现找不到lua的头文件,搜索一番,原因是没有安装lua-devel的包,于是在网上找了一个Fedora的RPM包,运行rpm -i安装,再configure就成了。
打开Vim命令行,运行echo has("lua"),结果是1,就大功告成了。
Error 523
在写Vim脚本的时候,一个很简单的函数出现了E523: Not allowed here。最后查明原因是在被map的命令中不能调用execute和normal函数,据说是为了安全。详情查看:help e523。下面是错误的.vimrc代码
function CscopeFind()
    execute "cscope add cscope.out"
endfunction

nmap <space>s :<C-R>=CscopeFind()<CR>cscope find s <C-R>=expand('<cword>')<CR>
if 判断字符串
这是一个坑,和Python等主流语言不同,Vim脚本里,if后面的字符串会被强制转换成bool变量,再进行判断。而字符串对应的bool值为0。所以下面的echo语句永远也执行不到。
if (glob('/existing/file'))
    echo ('yes')
endif
正确的写法应当是
if (!empty(glob('...'))
...
endif
插件
ctrlP
有了这个插件,cscope find f就没啥大用了。看官网的基本用法:
- Press
<F5>to purge the cache for the current directory to get new files, remove deleted files and apply new ignore options.- Press
<c-f>and<c-b>to cycle between modes. (Ben: 在搜索文件,buffer, funky之间循环跳转)- Press
<c-d>to switch to filename only search instead of full path. (Ben: 这个对于我比较有用,因为我们的路径太长)- Press
<c-r>to switch to regexp mode.- Use
<c-j>,<c-k>or the arrow keys to navigate the result list.- Use
<c-t>or<c-v>,<c-x>to open the selected entry in a new tab or in a new split.- Use
<c-n>,<c-p>to select the next/previous string in the prompt’s history.- Use
<c-y>to create a new file and its parent directories.- Use
<c-z>to mark/unmark multiple files and to open them.
目前我的配置
- <leader>-f: 模糊搜索最近打开的文件(MRU)
- <leader>-p: 模糊搜索当前目录及其子目录下的所有文件
- <leader>fu: 进入当前文件的函数列表搜索
- <leader>fU: 搜索当前光标下单词对应的函数

neocomplete
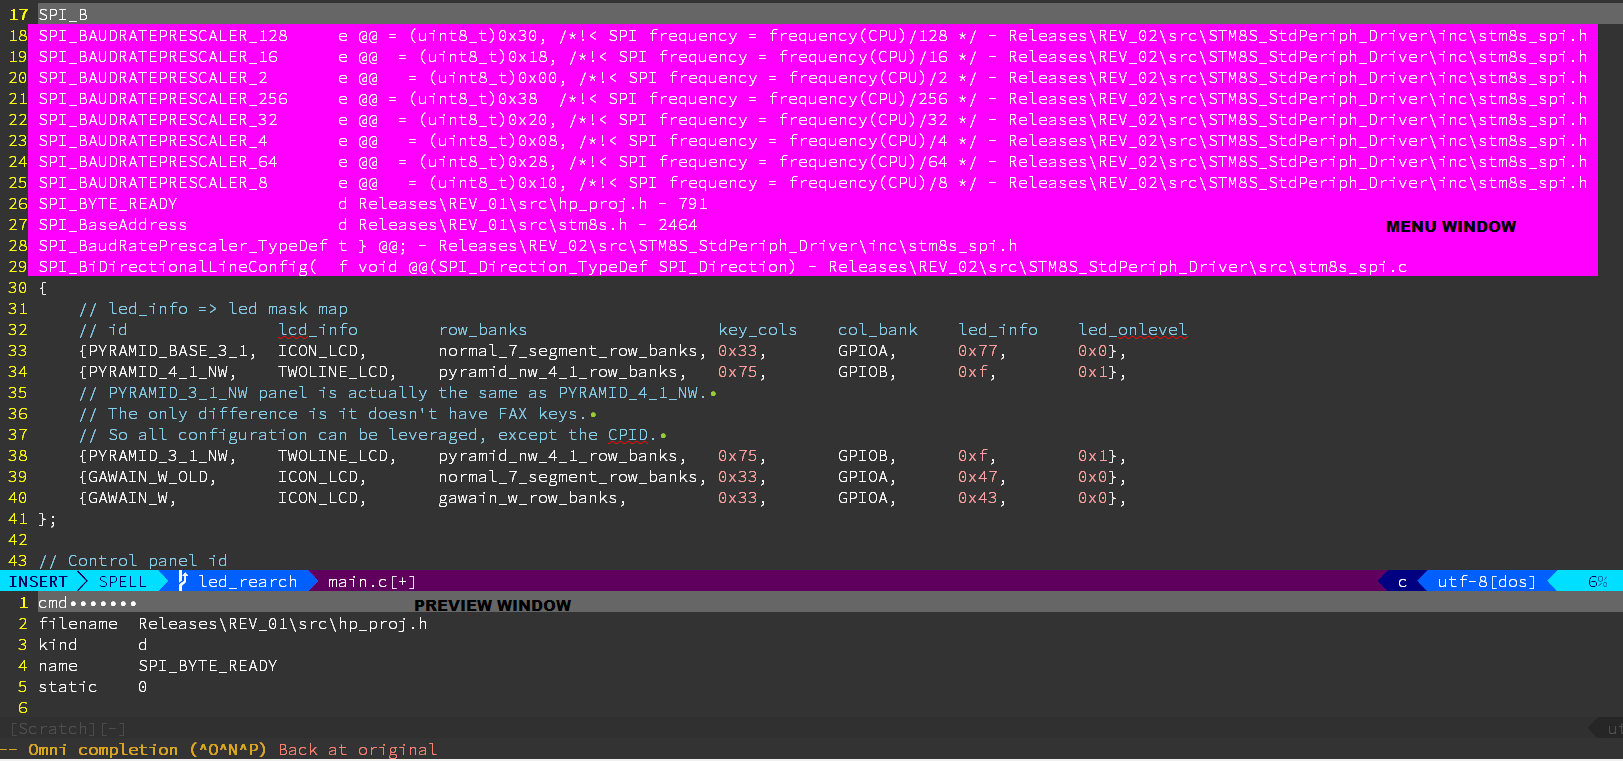
omni-complete
这是在Vim 7.0引入的自动补全功能,不依赖于任何插件。在没有neocomplete的时候,比如Windows下装neocomplete和ycm都很麻烦,就只能用原生的补全。其实也够用了,只是没有那么方便。
所有帮助命令入口:
:help ins-completion
:help compl-omni
:help ‘omnifunc’
:help i_CTRL-X_CTRL-O
:help ins-completion-menu
:help popupmenu-keys
:help ‘completeopt’
:help compl-omni-filetypes
:help omnicppcomplete.txt
看spf13的.vimrc中有这么一句:Automatically open and close the popup menu / preview window
本来以为omni-complete会像neocomplete一样自动弹出下拉菜单,但是经过一番Google和help研读。这个理解是错误的。

<C-N>/<C-P>这就不提了,最基本的功能,N=next,P=previous<CTRL-K>字典补全,查询dictionary参数中对应的文件,进行补全<CTRL-I>当前文件和包含文件补全,I=include<CTRL-]>tag补全<CTRL-F>文件名补全<CTRL-D>宏补全<CTRL-V>Vim命令补全,V=Vim<CTRL-U>User defined补全,U=User,补全函数通过set completefunc=xxx传入<CTRL-O>omni补全,O=Omni,补全函数通过set omnifunc=xxx传入,这个Vim自带的脚本都已写好,spf13的vimrc也有参考设置了
UltiSnips
在折腾半天snipMate无果的情况下,转投UltiSnips。语法复杂度以及灵活性要强于snipMate。注意以下几点即可
- UltiSnips搜索所有runtimepath下的UltiSnips目录中的.snippet结尾的文件
- UltiSnips通过一个全局变量决定是否支持snipMate
- UltiSnips用
<tab>补全,与omni-complete冲突,不过omni-complete还有一种用法是<C-N>/<C-P>来切换选项,也凑合能用了